Well, so much has changed since I last posted and the world feels like a very different place. I’ve decided not to write too much about the current situation with COVID-19 because I think we all need a bit of escape from the constant bombardment and I doubt that my ‘two penneth’ will help. There’s some wonderful writers and philosophers out there that will have plenty to say and do it in a far more profound way so I’ll just say that I hope that people stay safe, well and can remain positive.
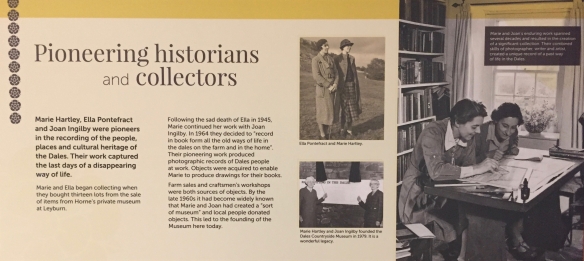
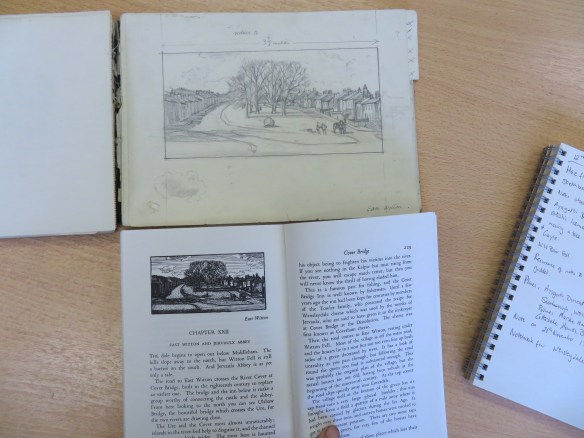
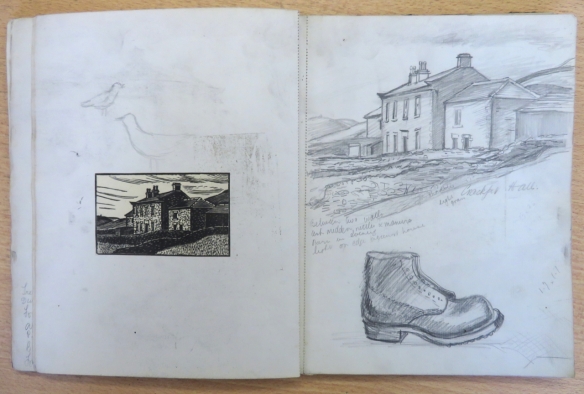
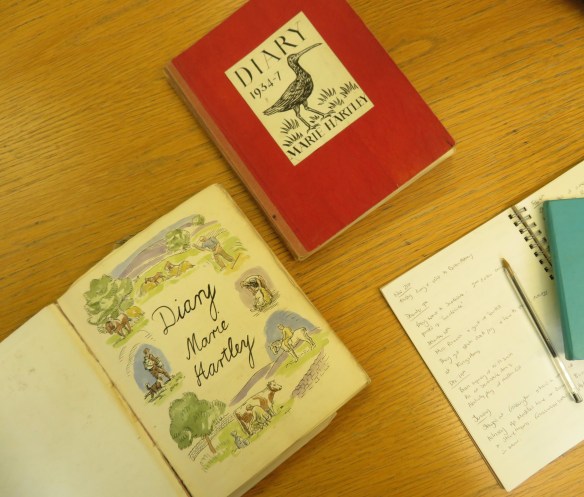
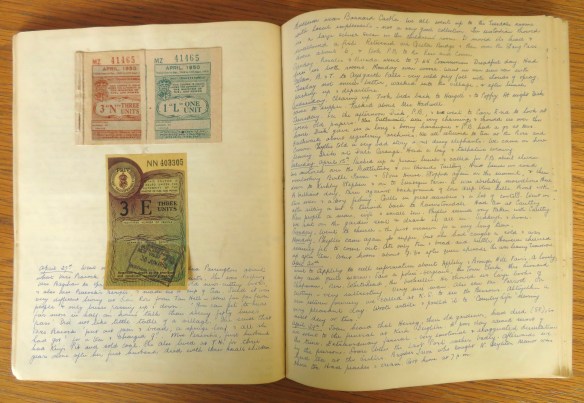
I’m currently in the ‘making’ stage of my project with the Dales Countryside Museum and I’m working on a series of prints which have been inspired by areas of the Dales that Marie Hartley and Ella Pontefract wrote about in their three books: ‘Swaledale’, ‘Wensleydale’ & ‘Wharfedale’. Fortunately, I have already spent over a year visiting a few areas repeatedly and have collected plenty of reference material so, despite being confined to my immediate area (no hardship, it is a beautiful part of the Yorkshire Dales), I am able to continue to work on the show. My husband is also working from home and our dogs are delighted to have us around all day! It isn’t always easy to concentrate, stay motivated and get into the right headspace when there is something so much bigger than all of us happening and we are preoccupied by thoughts of our family and friends. For my own sanity and the benefit of my work, I’m avoiding the radio, spending much less time on social media and am immersing myself in audio books (I am currently working through Ann Cleeves’ ‘Inspector Vera Stanhope’ series).
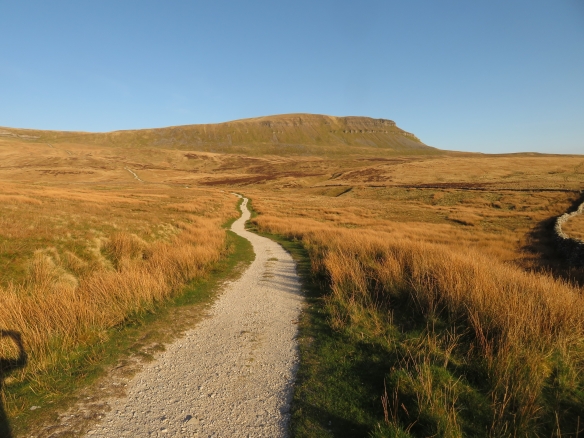
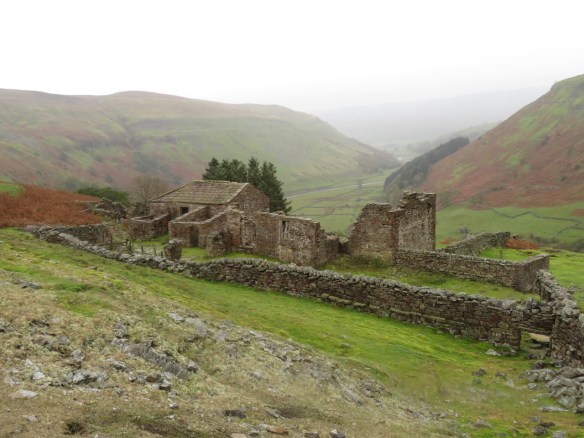
What has struck me the most about my immediate environment is the change in the countryside. The landscape is normally full of walkers, cyclists and runners tackling one or all three of the Yorkshire Three Peaks and now the hills are virtually empty of people. Brian and I are both fellrunners and our daily exercise takes the form of a run with the dogs and we can go for miles without seeing a single person except perhaps a farmer on a quad bike. It would be tempting to wax lyrical about the peace and quiet except that the hills are ringing with the bleating of lambs and the most exceptional bird song. There are pairs of curlews poking about in the earth, hares running around and I don’t think I’ve ever seen so many meadow pipits, skylarks and wheatears. I’ve even seen ring ouzels on Penyghent a few times. I was talking to a neighbour who has farmed here for many years and he said that this is how it used to be when he was young which makes me wonder if this is what it was also like when Marie and Ella were researching their books (minus the quad bikes!).
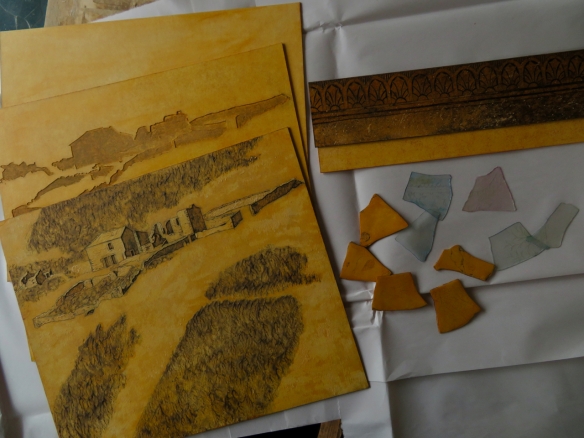
Before everywhere went into ‘lock down’, I went to Ålgården studios in Sweden to spend a couple weeks working intensively on the project. I took large pieces of card to Sweden thinking that I’d create some big collagraph prints and what I ended up making were four panoramic pieces each formed from seven smaller images that illustrate ‘journeys’ that I’ve taken. In fact, at the end of the fortnight, all of the printing plates could be wrapped up carefully and put in my pocket!
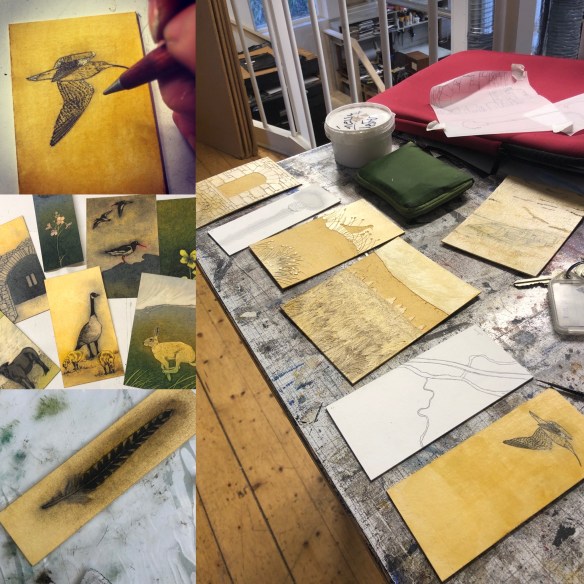
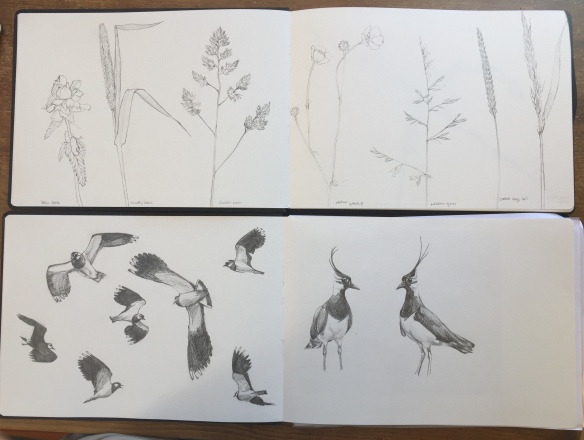
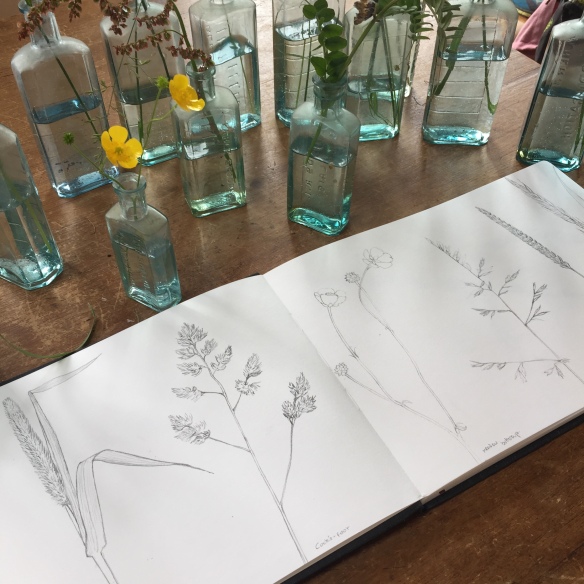
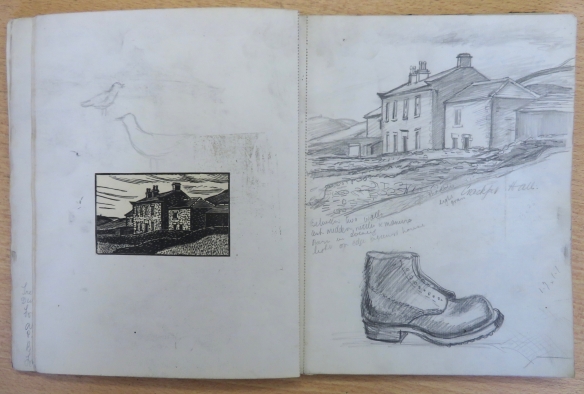
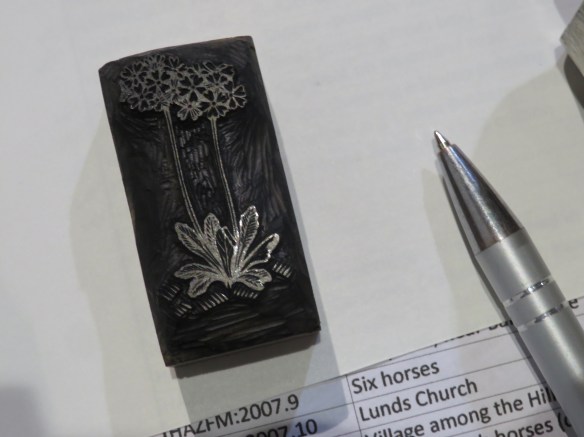
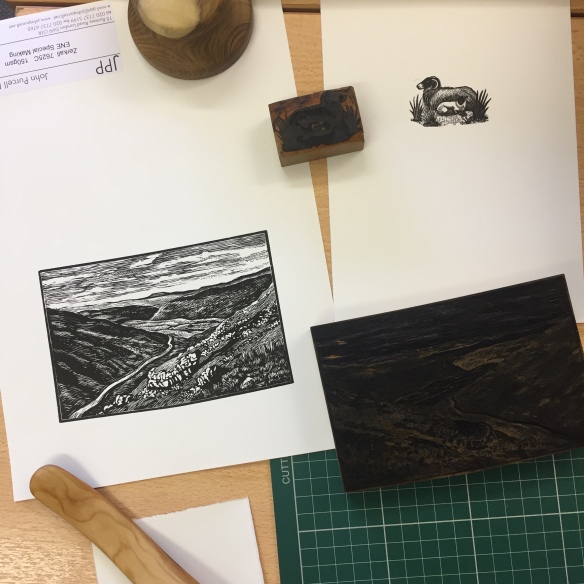
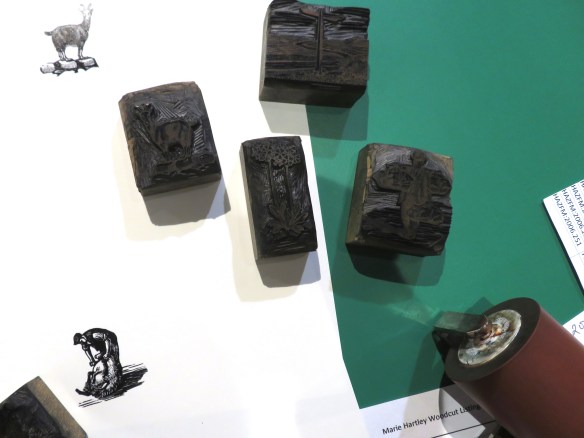
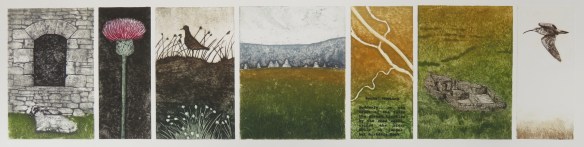
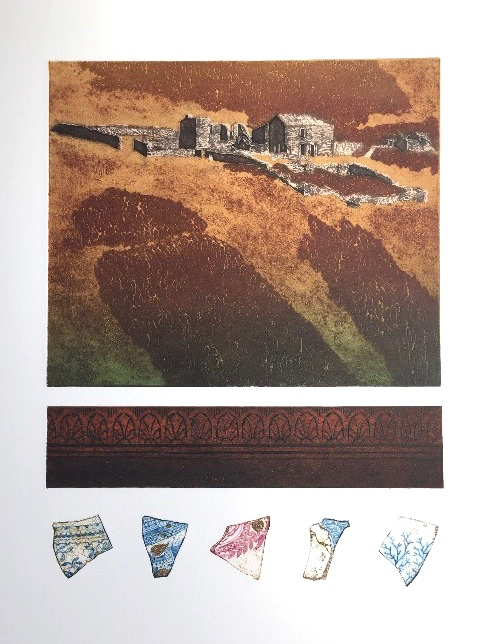
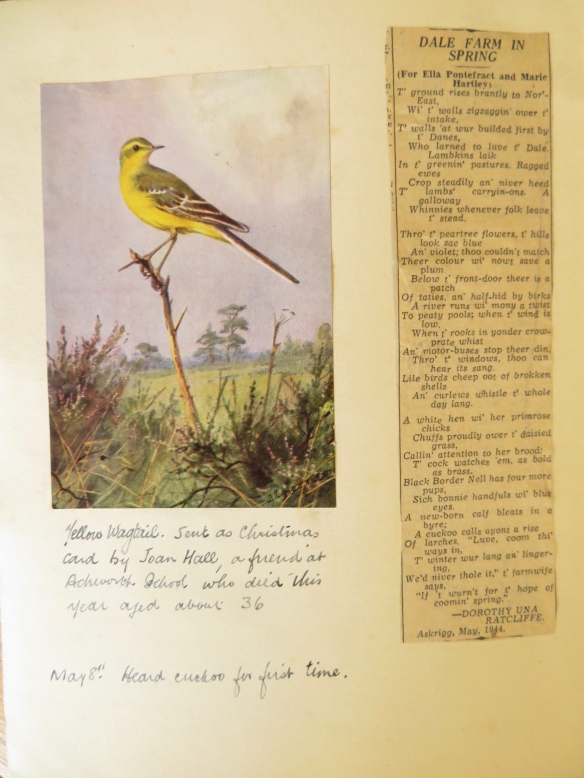
I’m working on various scales for the exhibition but I really like this link with Marie Hartley’s illustrations. Her wood engravings were small, intricate little blocks and appeared throughout the books illustrating the places, people and wildlife that Ella wrote about. Each of my ‘Waymark’ prints tells the story of a particular time that I ran a route inspired by their writing. Two of the pieces actually include quotes from the relevant books. Here is ‘Waymarks: Kisdon’:
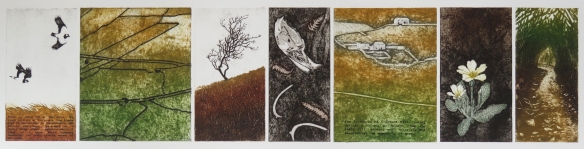
and ‘Waymarks: Birkdale’:
The images are inspired by things that I’ve seen along the routes and that help to tell the story and indicate the seasons. There are currently two more in the series and I’m now working on a fifth that is specifically about the stretch of the river Swale from Muker to Keld.
I travelled back on my birthday, 12th March, after which we quickly went into a very different existence. Before I went away, I’d spent weeks working on another piece which consists of 95 tiny prints collected together to form a larger work. The plates were sat in a box in my studio waiting to be printed and that proved to be the perfect project to tackle whilst coming to terms with our new circumstances. My next post will be all about that piece. Thanks for reading and I hope everyone can find some positives to keep them going.

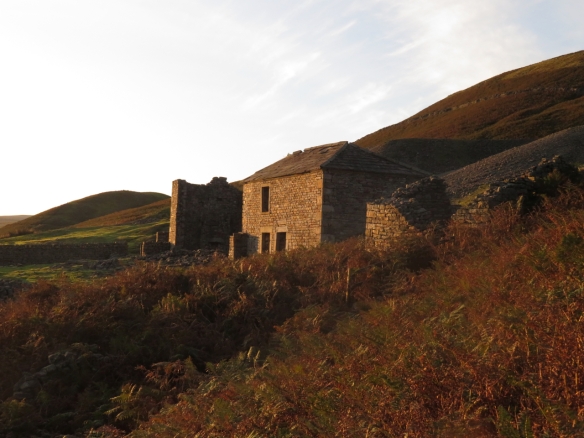
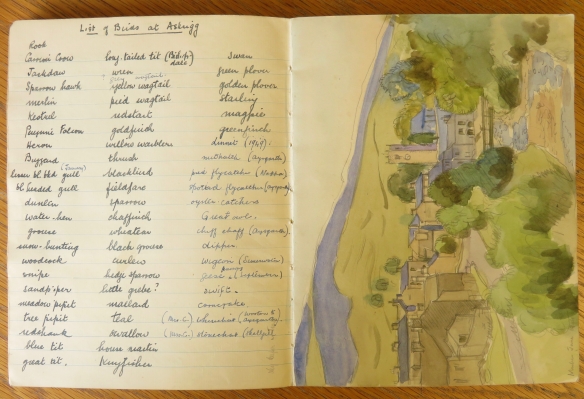
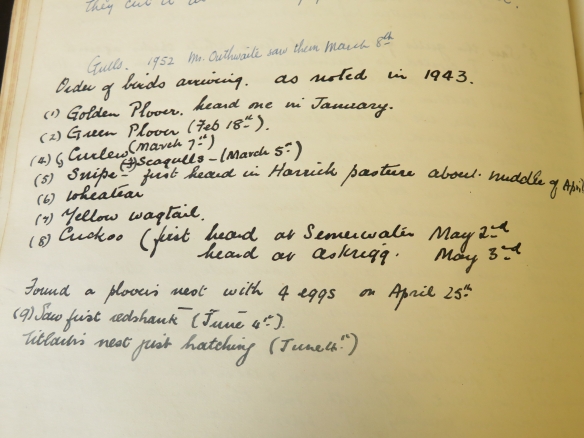
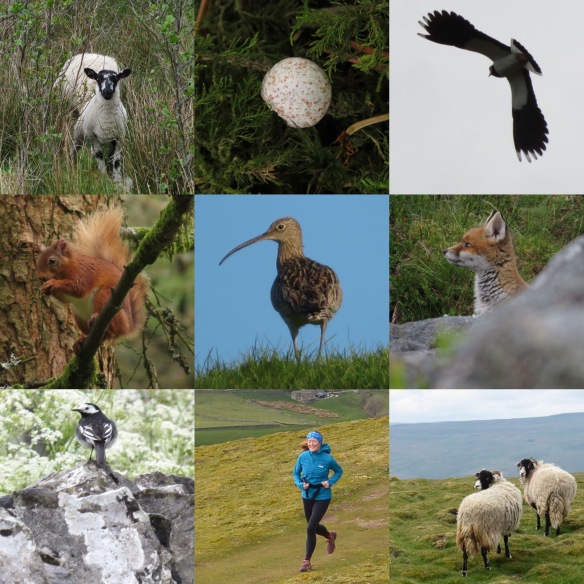
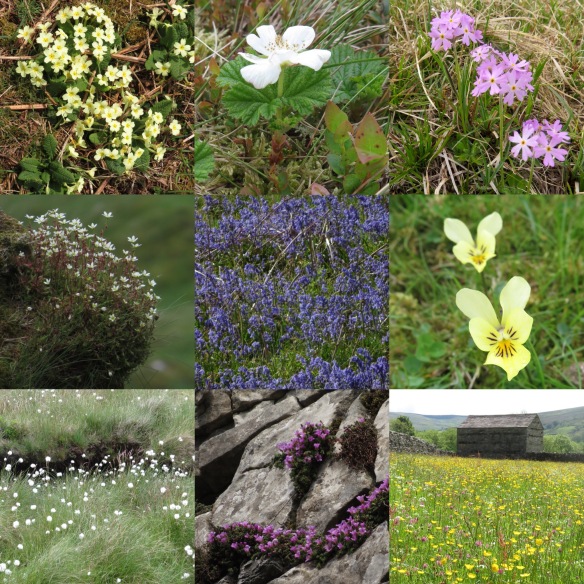
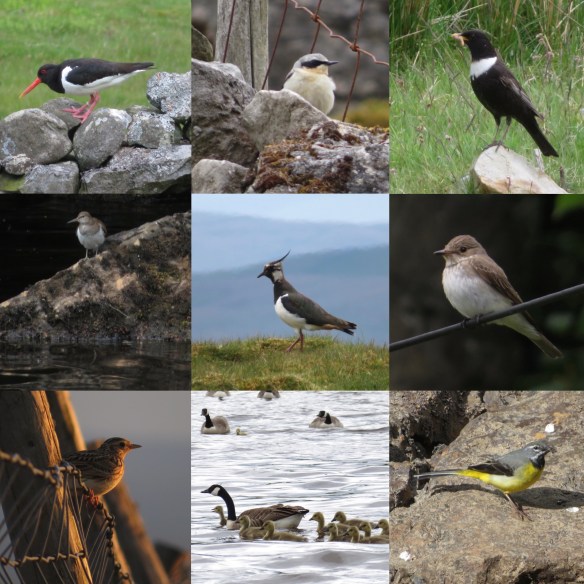
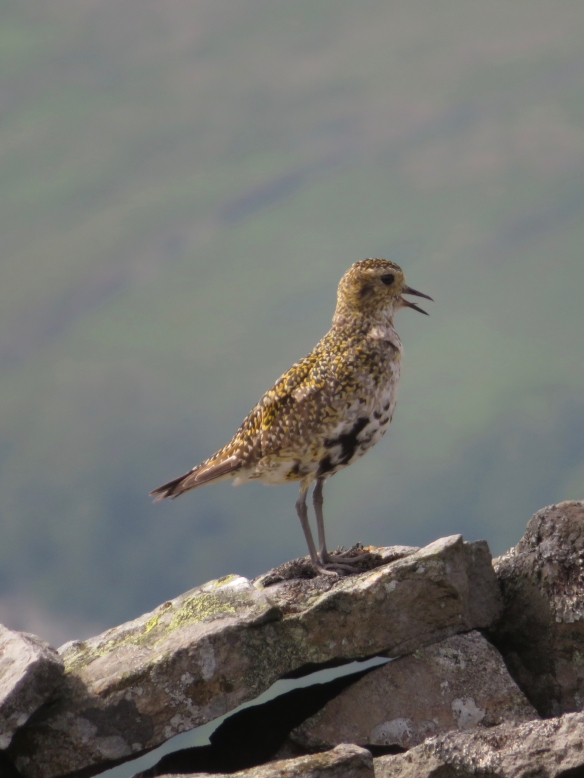
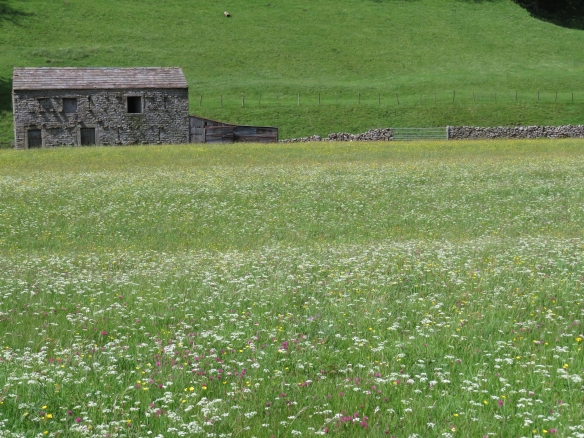
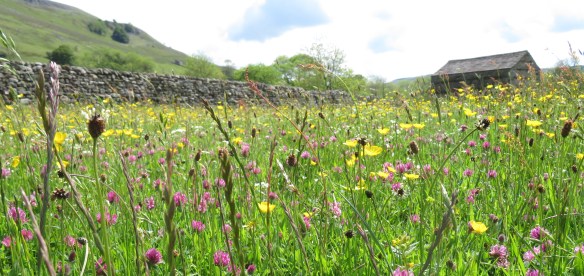
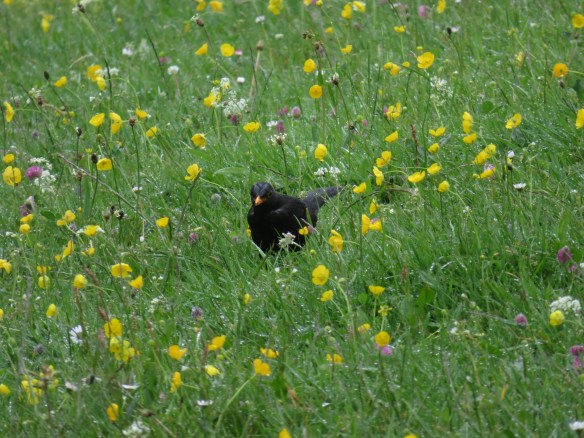
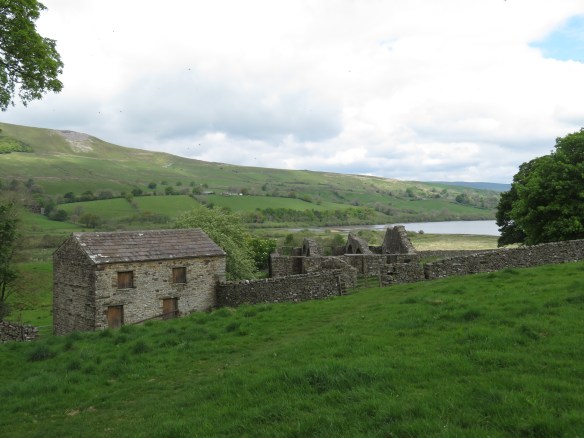
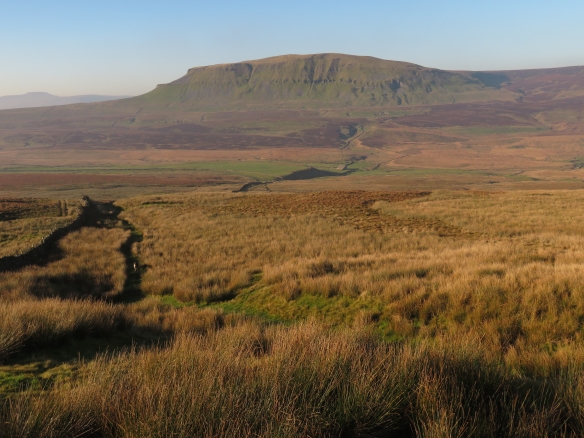
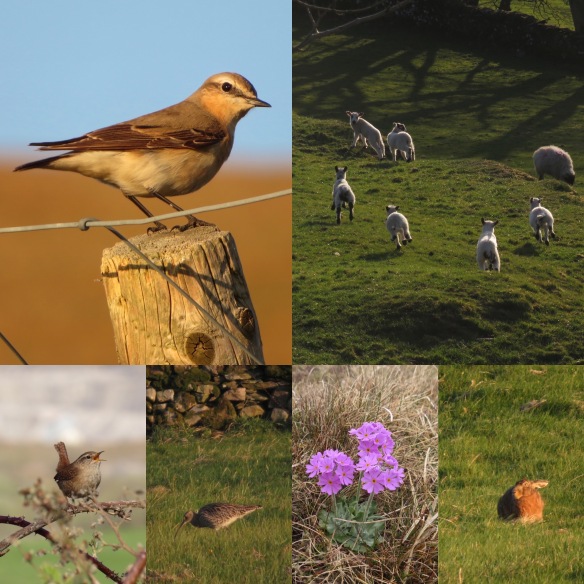
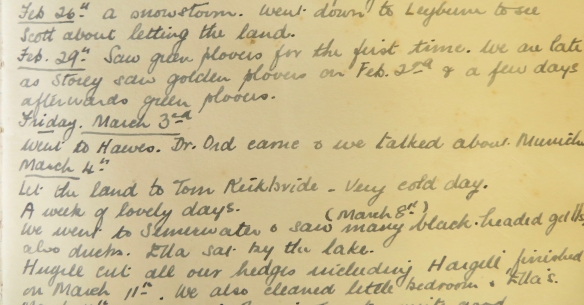 I think that one of the most poignant things is the fact that she refers to seeing corncrakes near Askrigg and these have now vanished from the Yorkshire Dales. I’ve been out and about and seen some really amazing wildlife. Here are some collages of photos taken on my visits to Muker, Keld, Penyghent, Plover Hill and Semerwater.