
I’ve been beavering away on my meadow project and it’s time for a bit of an update. When I undertook my project with the Dales Countryside Museum back in 2019, I had always intended to create a series of linocuts as a homage to Marie Hartley’s gorgeous wood engravings but, as is often the case, I ran out of time and ended up sticking to collagraph. With this new opportunity to show my project at the museum I’ve been given another chance to achieve this goal. I decided that I will create 12 black and white linocuts that will illustrate life in a meadow over a calendar year. I have been taking note of everything that happens in our local meadows for the last eight years and have a wealth of photos, drawings and ideas. My neighbour that farms these meadows follows the traditional methods which means that she intermittantly grazes the meadows with a flock of ewes from September keeping the grass low enough to allow meadow plant seeds to germinate. In late October/November she introduces a tup to the ewes and he swaggers about the fields looking macho in his harness (it’s usually a texel and a friend rightly likened him to a nightclub bouncer). Then the ewes are back in with their lambs from early March through to the end of April. The fields receive a bit of farm ‘muck’ for fertilising at some point and then from May through to August, the meadows are empty of livestock and it is fantastic to see the speed at which the plants grow and the different species that are dominant at different times. The hay gets cut around mid-July and this year we were fortunate to witness the successful fledging of four curlew chicks.

Marie Hartley’s wood engravings show some of the stages in the haymaking methods of the 1930s & 40s and my aim is to show contemporary methods with my images. I’m not an adept wood engraver (maybe one day!) but I am pretty competent at linocut, having done it on and off since I left college, and the look of it and way of working share some similarities with wood engraving. They are both relief print methods and so you are printing the raised surface of the block. The image is created by the removal of that surface with sharp tools. In effect, you are creating white areas that don’t print plus the block is a mirror image of the final print so it does require a bit of brain power to design in that way. I sometimes think that printmakers have very specific kind of brains in order not to feel befuddled all of the time!


In the above images, you can see the linoleum (made from a mix of linseed oil, cork dust, resin and gum pressed onto a jute backing). It is normally grey but I’ve stained the surface with printing ink so that it is easier to see the cuts that I’ve made. I also use a white gel pen to draw on some more complicated areas so that I don’t make mistakes when cutting. You can’t easily put back what you’ve cut away so it is important to keep track of what you’re doing.
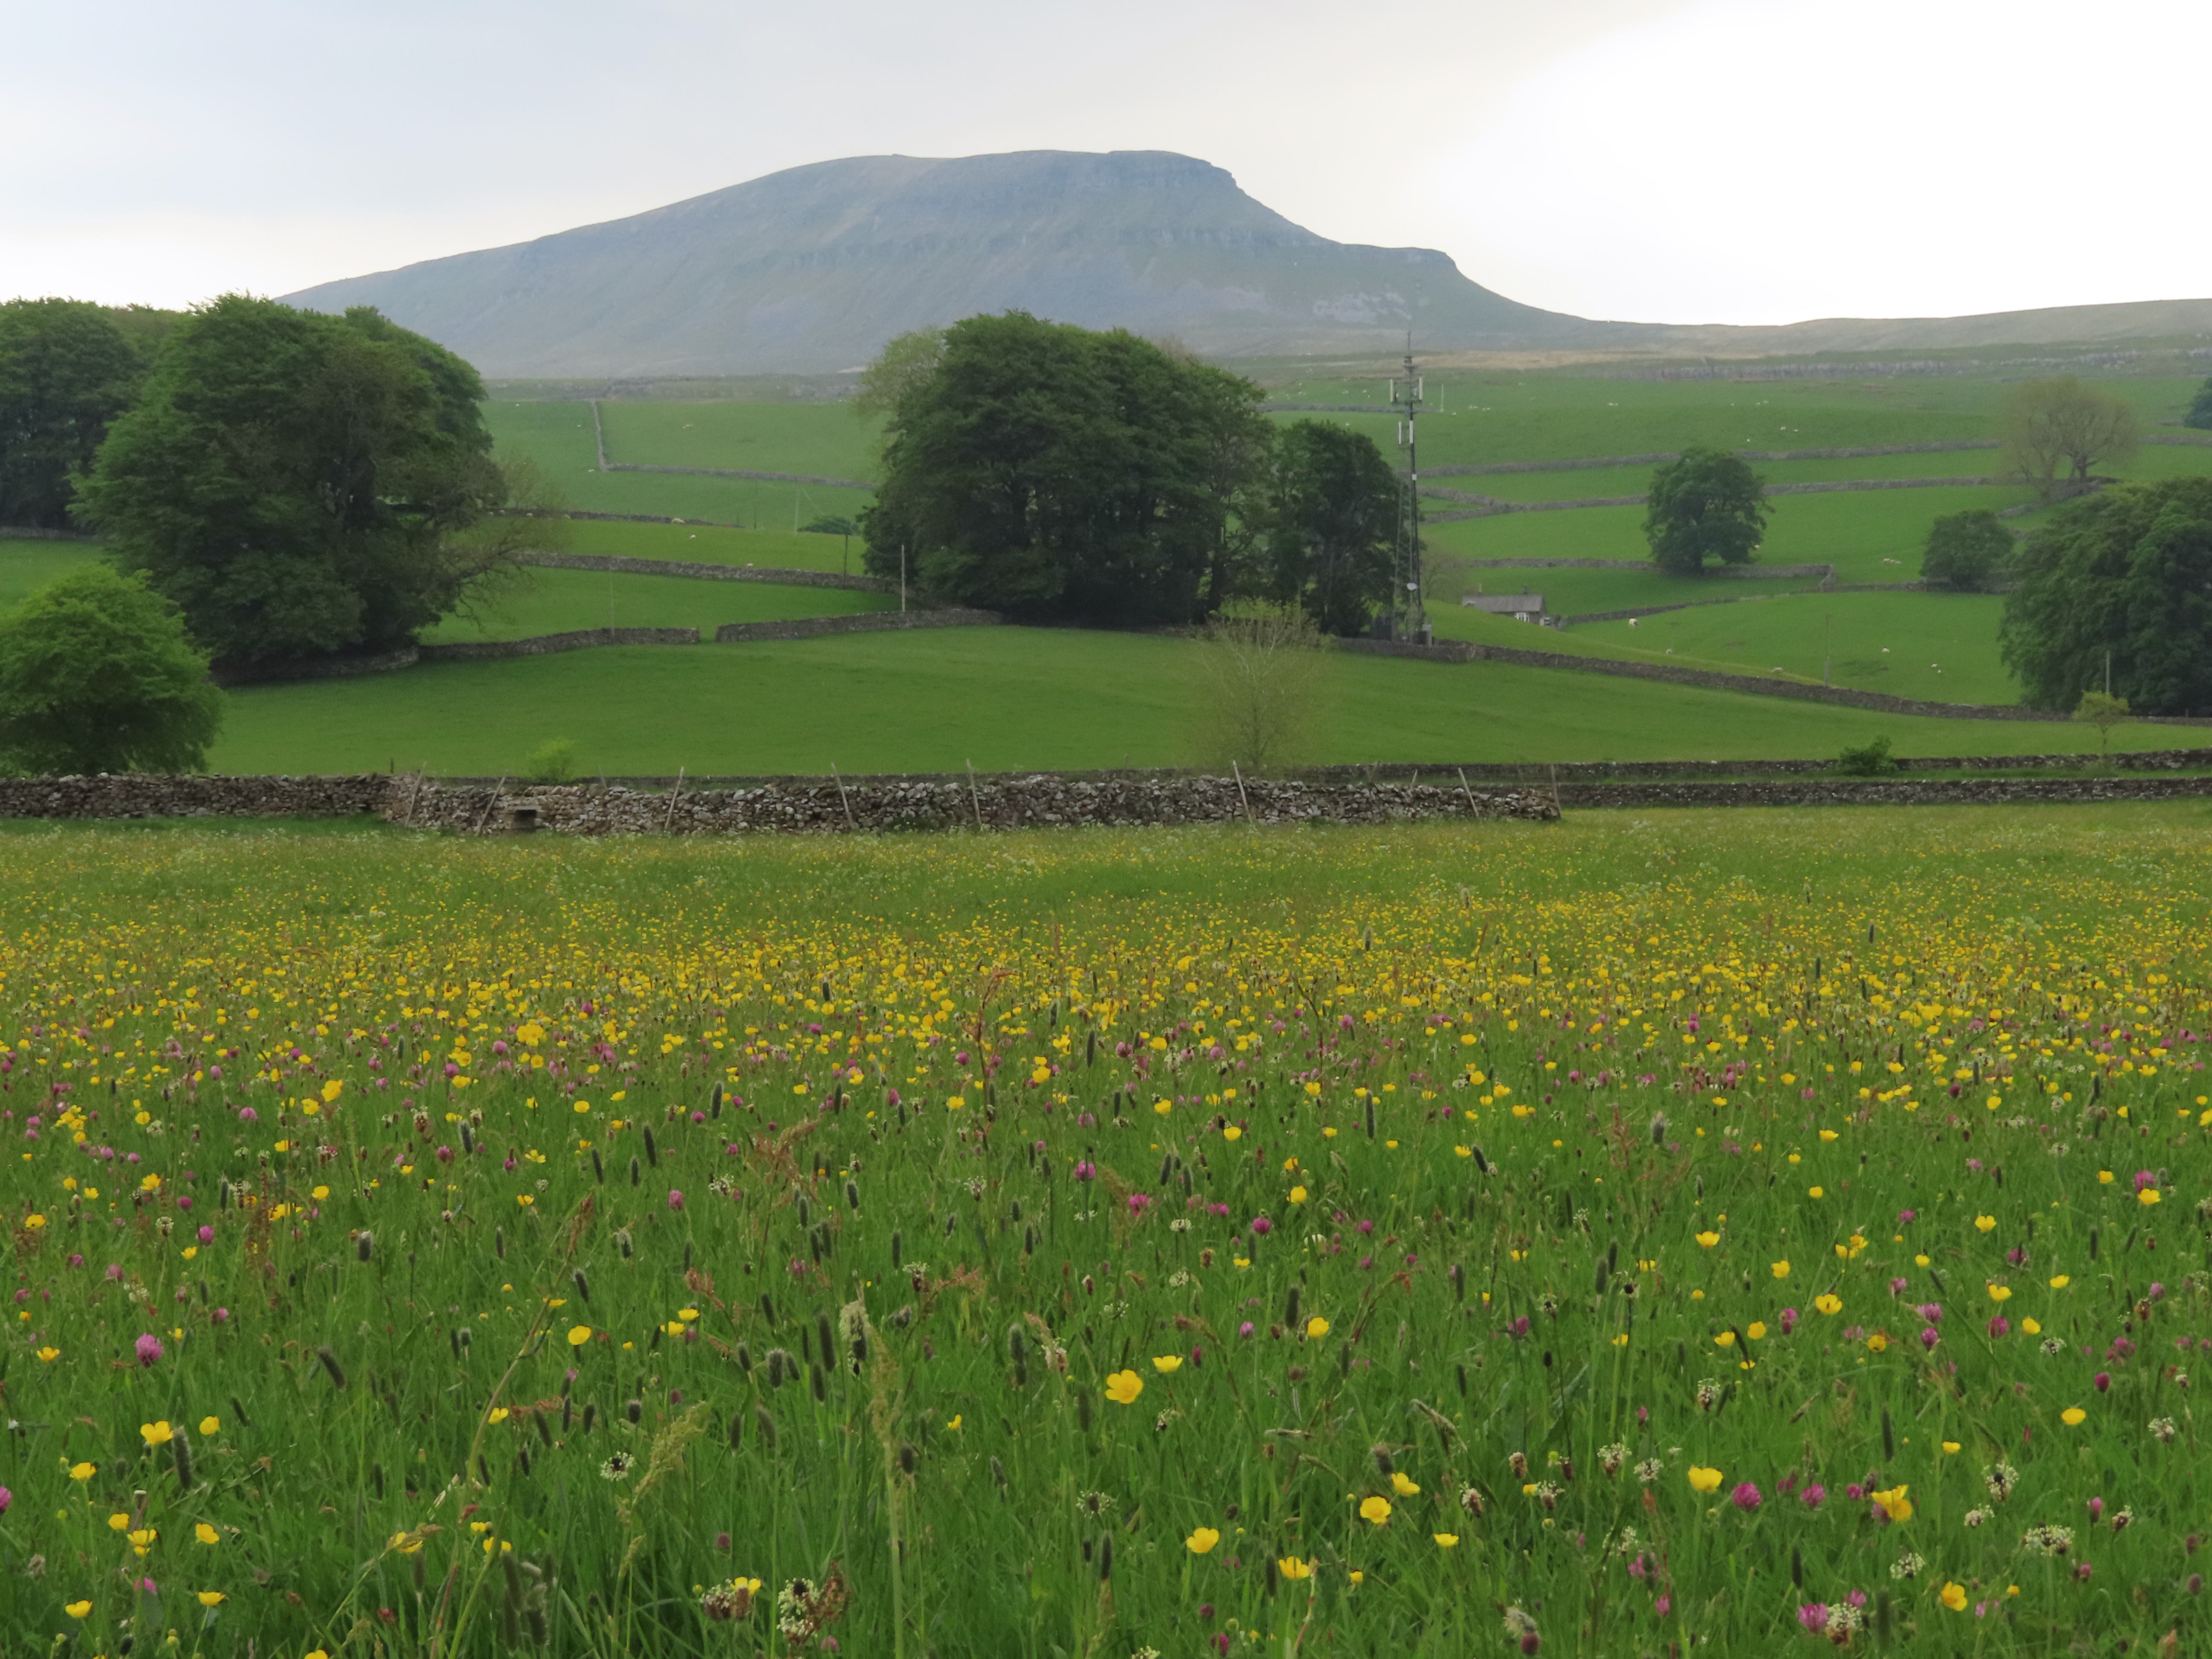
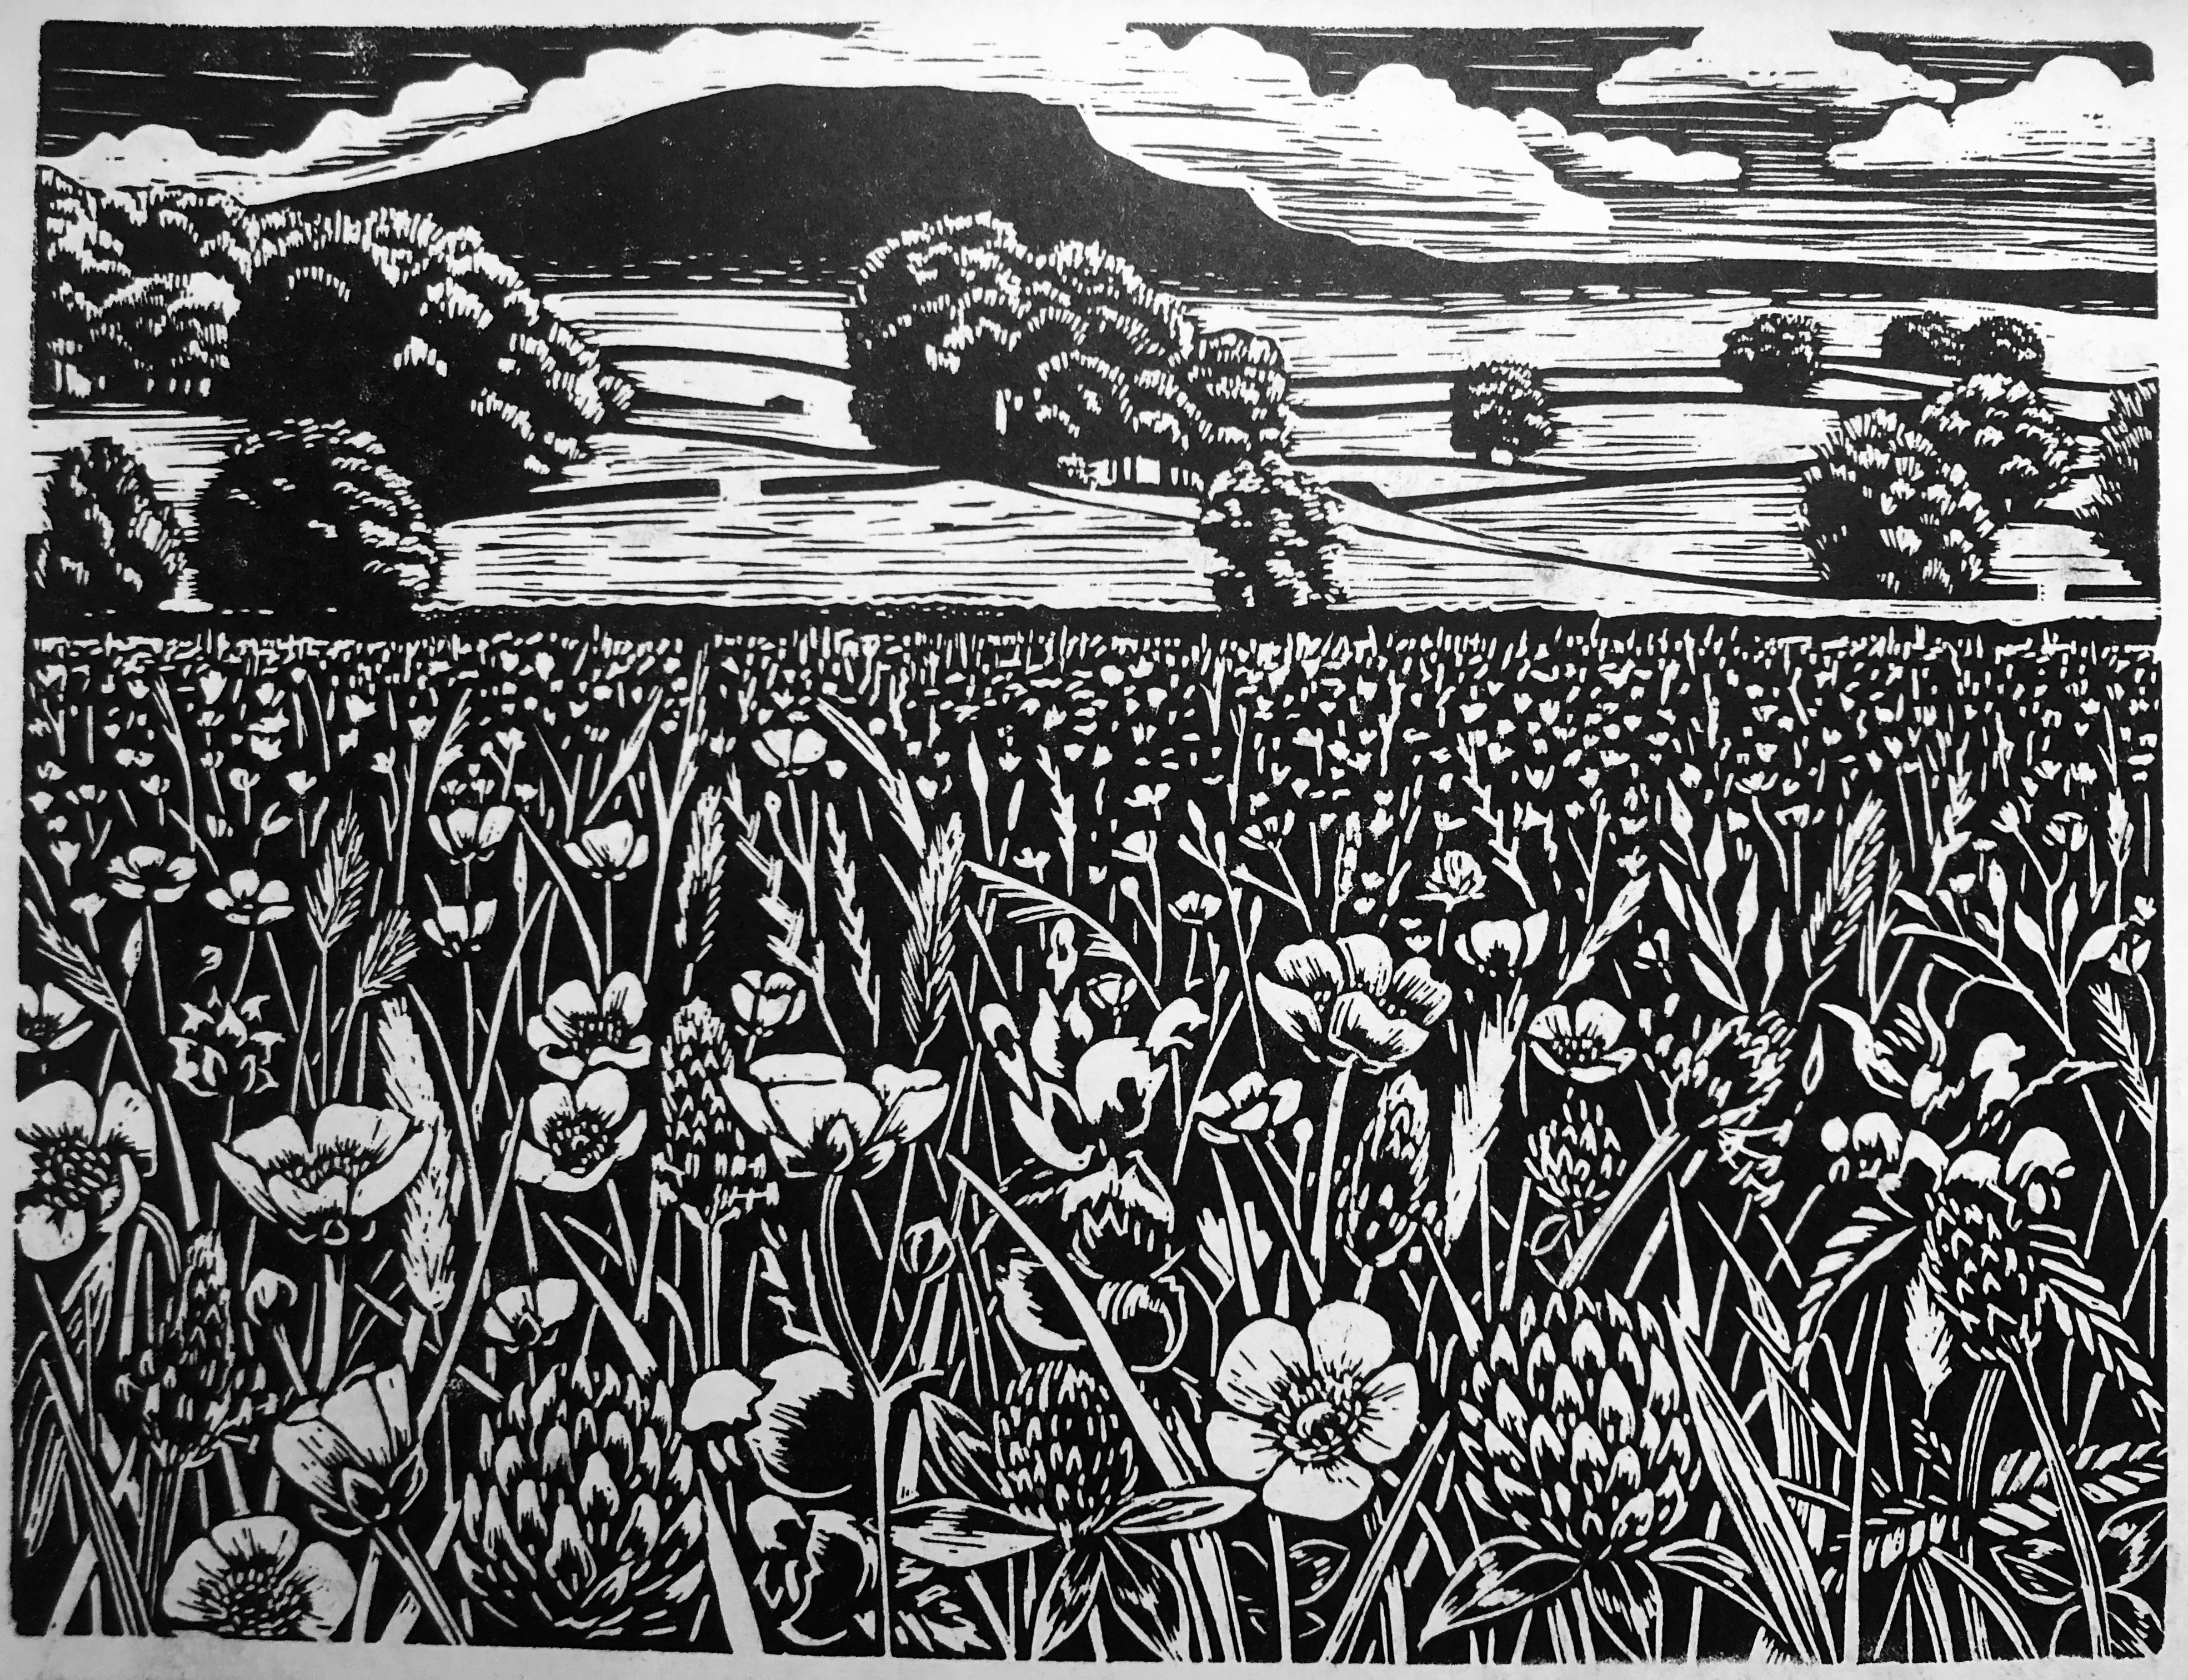
I’ve taken some time to look at the work of other artists known for wood engraving and linocut and the research has been really enjoyable. Having printed all of Marie Hartley’s blocks, I’m very familiar with her work but I also looked at the engravings of artists such as Charles Tunnicliffe, Clare Leighton, Howard Phipps & Clifford Webb. It is interesting to see how they handle different skies, how much detail they choose to put in and what kind of stylisation they employ. I’ve chosen to keep mine quite illustrational and very much about a specific place so you’ll see Penyghent cropping up in a few. Here’s the first proofs for May & June, I may ‘tweak’ them a bit before I edition them next year:
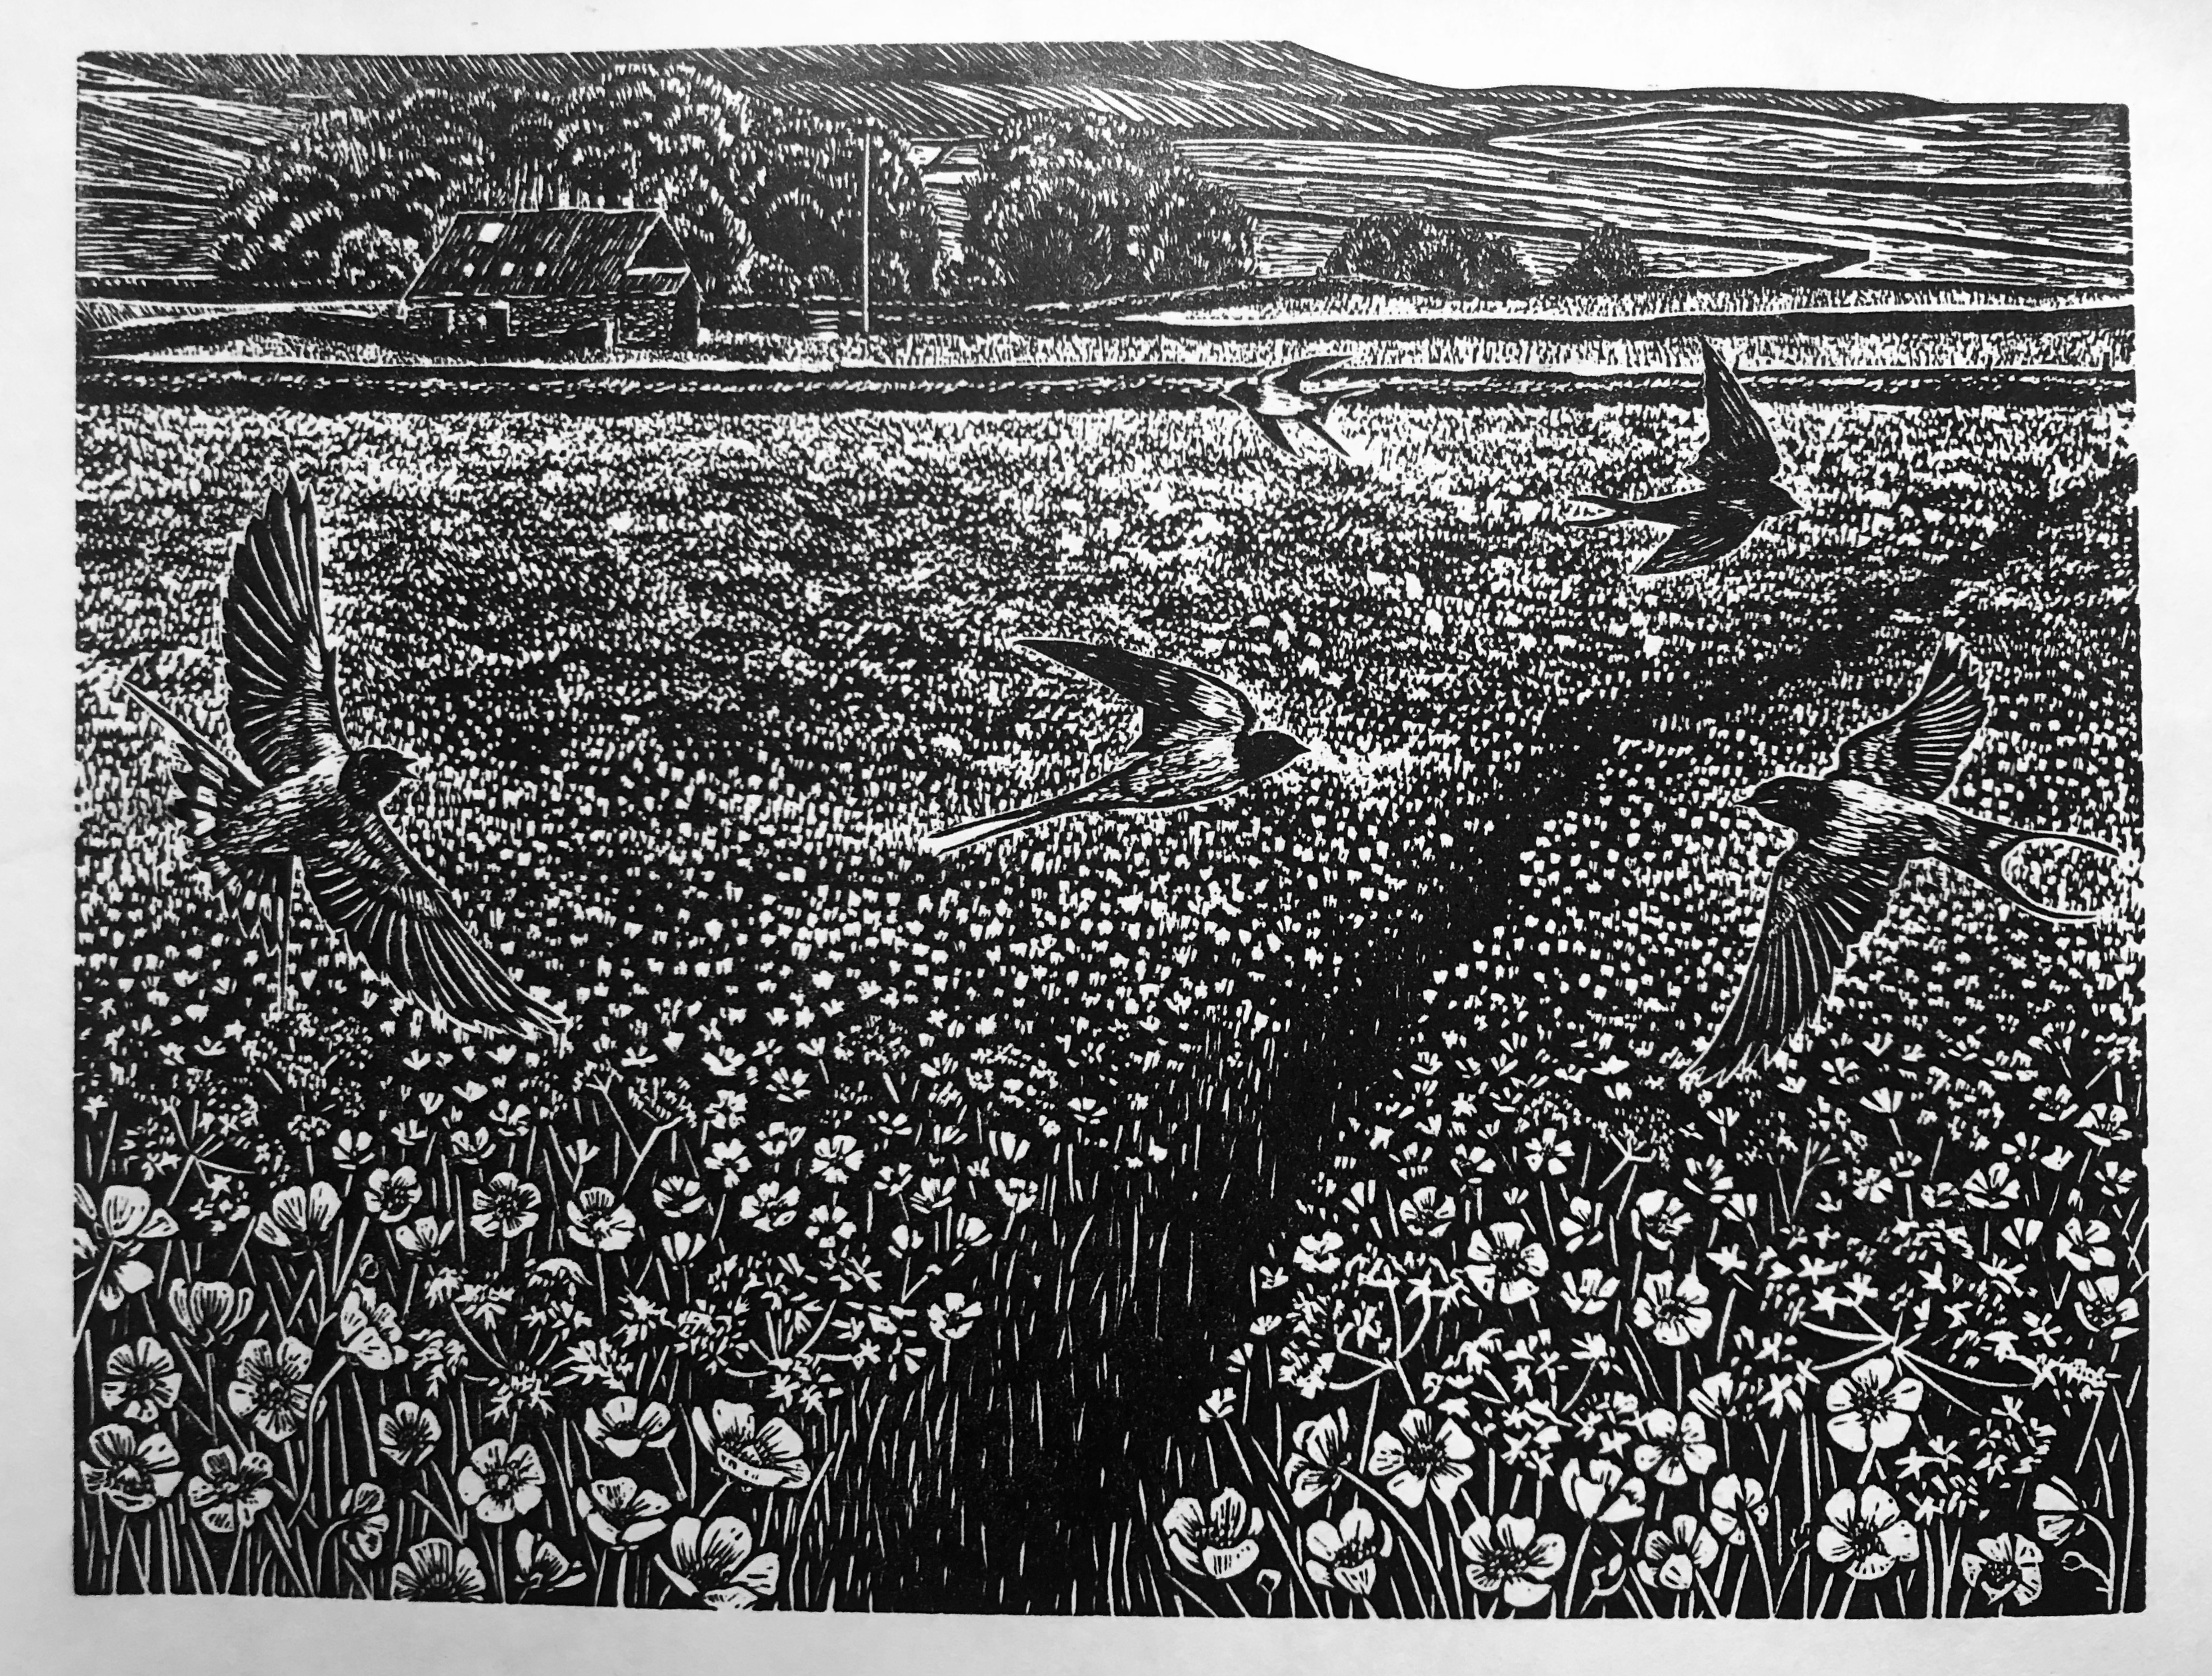
I’m also making a series of smaller square linocuts that will depict some of the diverse wildlife species that rely on the meadows, and the plants/trees growing on the fringes, for their food and shelter. There is a delicate balance at work with certain insects only eating specific plants and then birds and animals relying on feeding from the seeds of certain plants or eating the insects of the meadows and further up the chain you have birds such as barn owls looking for the shrews and voles that live in and on the edges of the meadows and birds such as curlews relying on sheltered places to nest and raise their chicks. I hope that this print series will help to communicate the ecological importance of these traditional meadows.

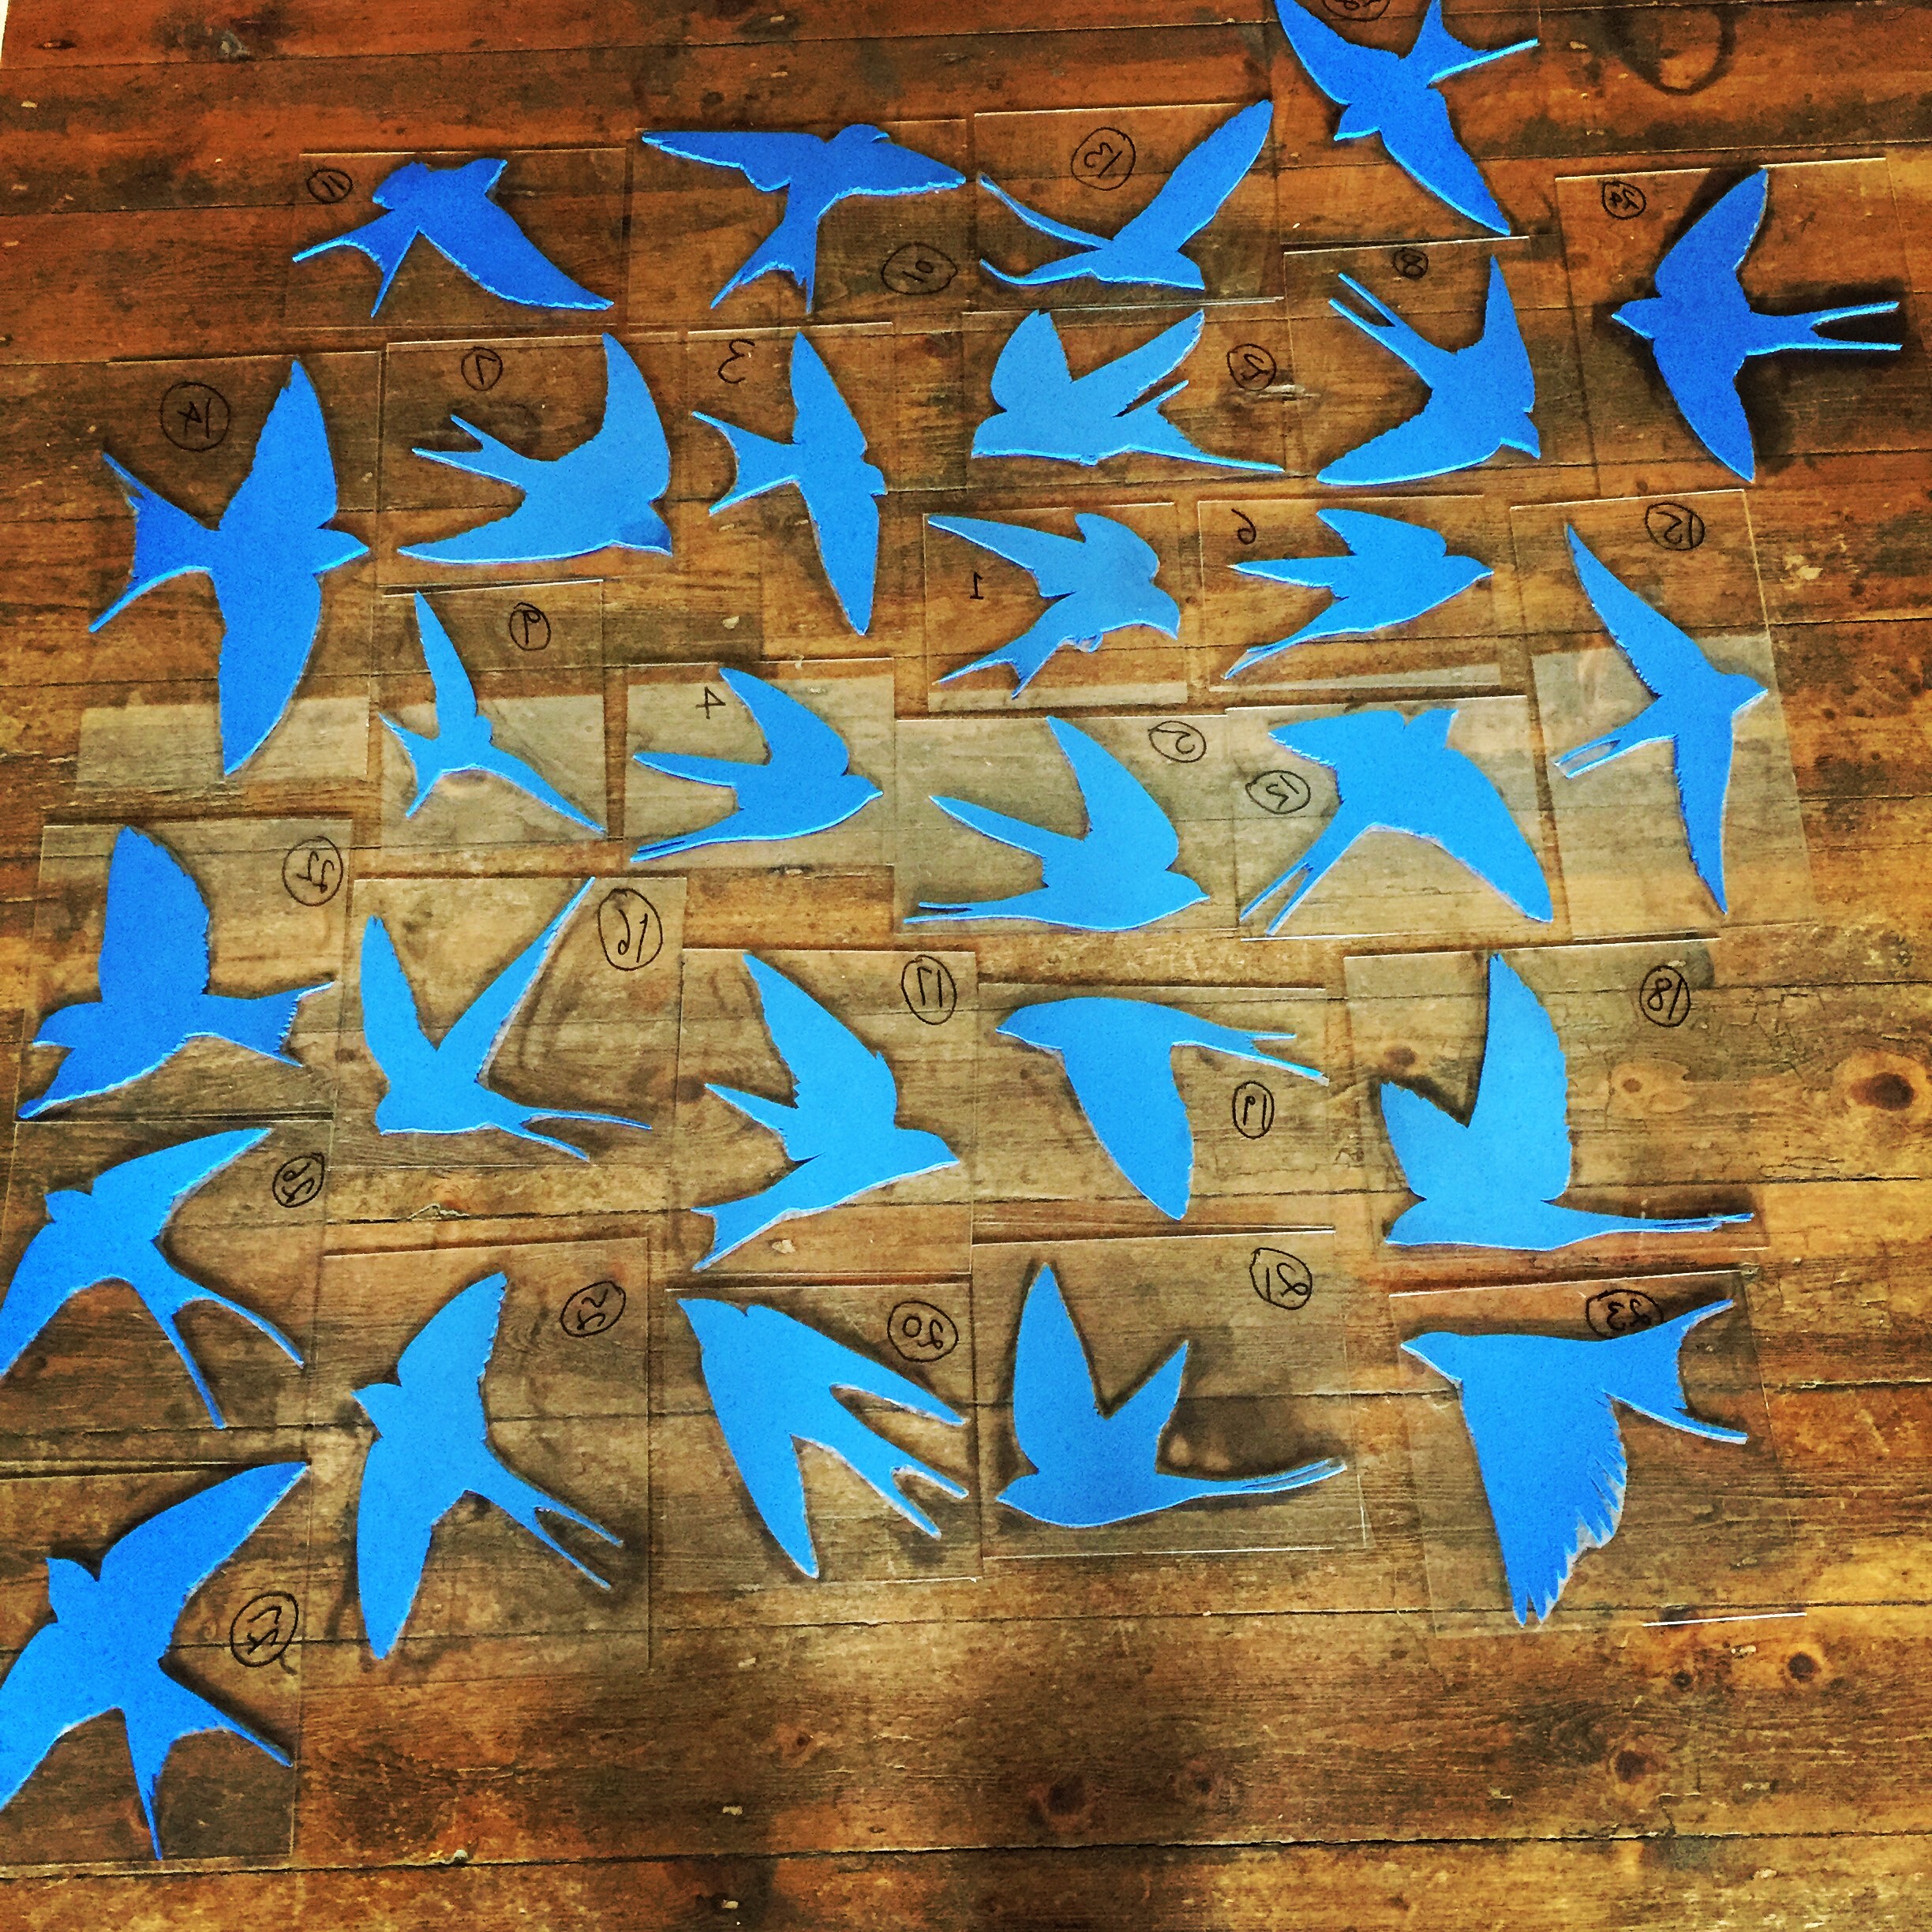 I’d already hired the local village hall (very local, its down the lane that I live on) and I went in on Friday lunchtime armed with all the hangings, screen printing ink for fabrics, foam rollers, and lots of clean newsprint. I got three long tables out, covered them with clean paper, put radio 4 on and got to work. By the time The Archers came on, I’d printed the first hanging. I made sure to stay scrupulously clean, wash off each block after printing, so I didn’t have a massive load to do at the end, and print slowly and methodically to avoid silly mistakes. I used my long scale drawings as a map and I’d numbered each block so I knew which went where.

